The series so far:
- Creating Your First SQL Server Docker Container in macOS
- Managing SQL Server Docker containers in macOS
- Connecting to a SQL Server Docker Container Running in macOS
It is not surprising that macOS has become the platform of choice when designing, creating or developing new SQL Server solutions. Microsoft has invested important time and resources to create a set of very powerful cross platform (Windows, Linux, macOS) tools for the data professional community.
Development tools like Azure Data Studio for macOS allow database administrators and developers to create database solutions in the same way SQL Server Management Studio (SSMS) does it for Windows users, but what about a native database environment? When creating a solution, it is always convenient to have a sandbox environment at hand to test all the progress made during the project.
How is this going to work for me if I’m a macOS user using a personal laptop? How I can get a database environment quickly available for my project? The answer to this question is Docker.
Docker provides a simple, agile and very powerful platform to build SQL Server containerized environments quickly, perhaps in less than five minutes. Yes, trust me it takes less than 5 minutes to have a SQL Server instance ready to roll.
Another advantage of using Docker for this purpose, is that you don’t need to be an expert in the virtualization field. There are some virtualization products available for macOS like VMWare Fusion and Virtual Box, but at the end of the day you must invest time and resources to have a VM running SQL Server on top of a Windows Server.
The goal of this series of articles is to show you how to use Docker in macOS to provision new SQL Server environments for research and development, learning, training or demonstration purposes without having to invest much time in the allocation of resources or even following long installation or configuration processes to accommodate every component of this new environment.
What is Docker?
For those not familiar with docker, this is the official definition of what Docker is as platform:
Docker is an open platform for developing, shipping, and running applications. Docker enables you to separate your applications from your infrastructure so you can deliver software quickly.
With Docker, you can manage your infrastructure in the same ways you manage your applications.
By taking advantage of Docker’s methodologies for shipping, testing, and deploying code quickly, you can significantly reduce the delay between writing code and running it in production.
Docker architecture
Here is short definition of each docker architectural component:
- Docker daemon: Also called dockerd, it is the main process used by Docker to manage containers through API requests made by the docker client.
- Docker client: This is the interface that makes possible the interaction with Docker; all the command base requests are sent to the docker daemon to start, stop, or simply manage a container.
- Docker registries: A local (private) or public (Docker Hub) repository where Docker images are stored, images are pulled from docker registry through the docker client using the docker pull command.
- Docker objects:
- Images: A snapshot of a set of files required to run an application, images are created using a Dockerfile which contains a set of instructions that makes possible the creation of this binary file.
- Container: It is the runnable instance of a docker image, nothing more than a program executed in the docker daemon machine.
The following diagram was taken from the Docker documentation website; it is the graphical interpretation of Docker’s architecture:

Taking the concepts defined previously and also analyzing the architecture diagram above, you can say Docker is a platform designed to work under the client-server model architecture where the main docker process (dockerd) runs in the form of a daemon in a local or remote server/computer that is accessible through the network by a command line client called Docker client. The client allows you to execute Docker commands against the Docker daemon to build, run and distribute Docker containers.
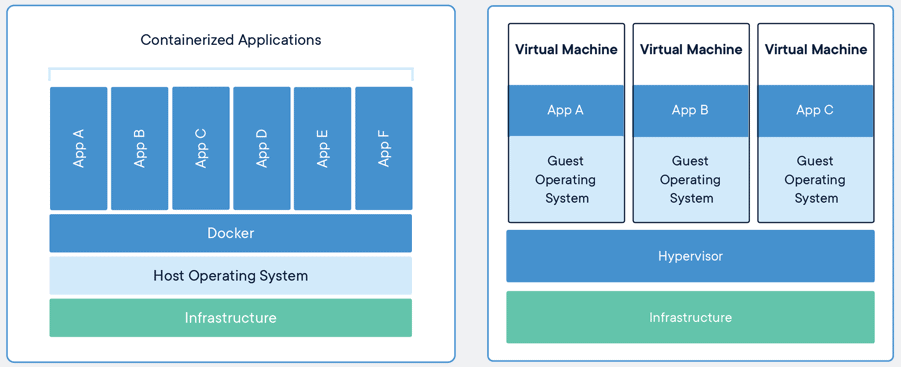
Docker vs VMs
No question about it, making a comparison between Docker containers with VMs is sometimes inevitable. Virtualization technology has been widely adopted and implemented in the IT industry for at least the last 15 years, but Docker is a game changer.
Virtualization is basically a way to run multiple operating systems and applications on a single server to take full advantage of its processing power. Each virtual machine has all the hardware resources virtualized by a hypervisor which is the server that makes it possible to run multiple operation systems. Each VM will always include a full copy of an operating system, the application, necessary binaries, and libraries.
Containers run directly in the host machine like any other normal application or process, thus no hardware virtualization is required. Unlike VMs, containers share the host operating system kernel, which means the virtualization occurs at the operating system level delivering a better performance and efficient resource management (less storage).
Another advantage of containers over VMs, is that all the code, libraries, and dependencies of an application are already installed and included in the container image. That means you don’t have to worry about finding all those dependencies or even to standardize software deployments like a SQL Server installation.
Based on the Docker characteristics above, it makes sense to make Docker as essential part of
continuous integration and continuous delivery (CI/CD) workflows given the low risk, portability, automation, and scalability.
Installing and Running Docker on macOS
Installing Docker on macOS is no different than any other conventional application for this platform; the installation process is very straightforward, and the instructions are easy to follow.
Before starting with the installation process, I would like to take a moment to review the list of system requirements that your laptop must meet in order to run Docker in macOS:
- A minimum of 4 GBs of RAM
- macOS El Capitan (10.11) or newer versions
- Hardware must be at least from 2010 or newer
- At least 10 GB’s of free space on disk
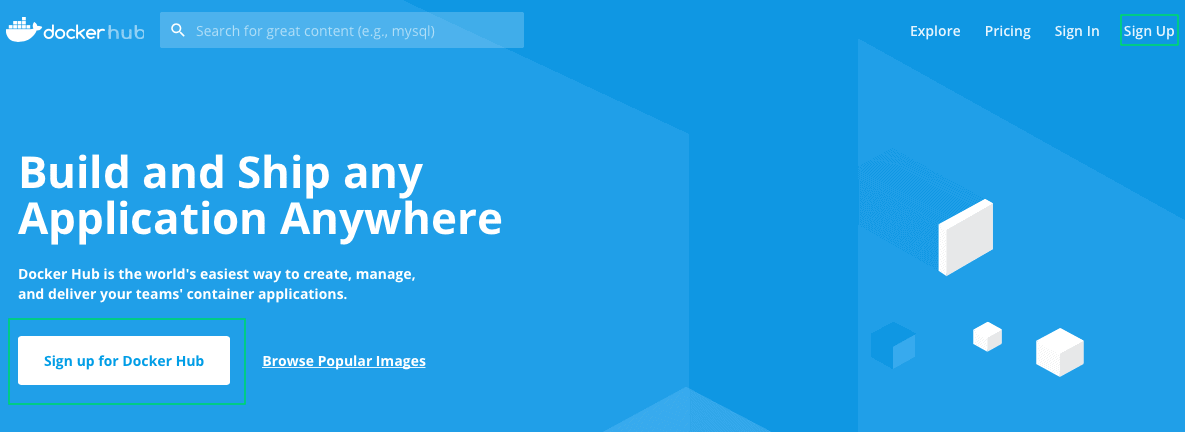
Apart from the system requirements, Docker as a platform requires the creation of a Docker ID account at Docker Hub. Without this ID account, you will not have access to the Docker Hub repositories like Microsoft’s official repository, RedHat, Ubuntu, etc.
The Docker ID account becomes your personal repository which you can use later to upload custom images. Go to the sign up page:
Click on Sign up for Docker Hub, enter a username to use as your Docker ID, then a valid email address. Finally, enter your password. Of course, do not forget to check the terms of service, privacy policy, and Data Processing terms.
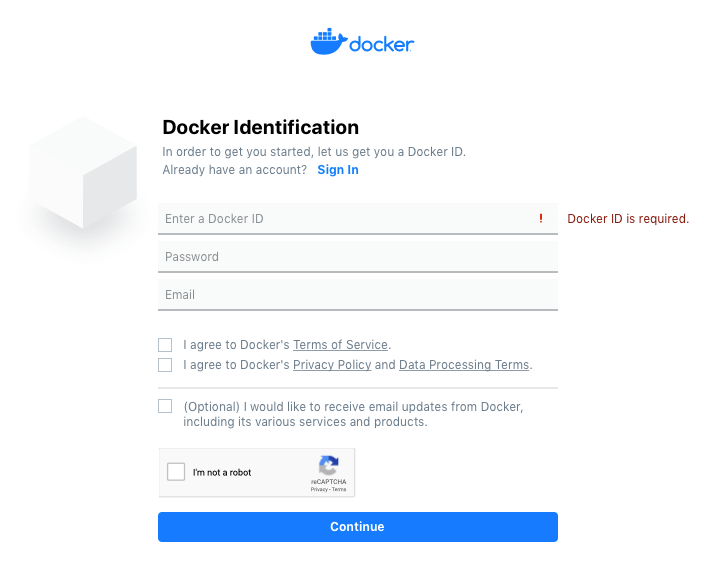
The password must be at least 6 characters long. Then you have to wait for a confirmation email:
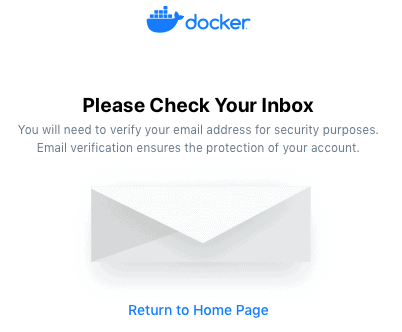
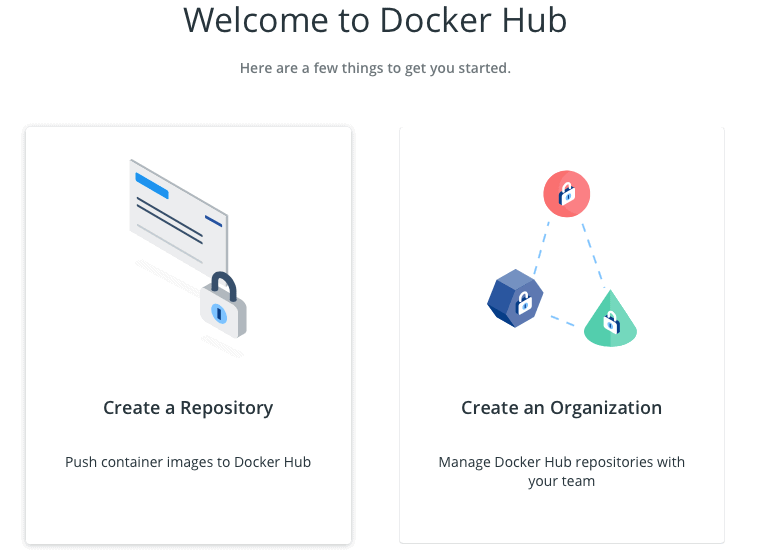
Once your email is verified you are in, welcome to Docker Hub! Now it is time to create your personal repository, you will use this workspace later to upload and share custom Docker images.
Click on the Create repository option on the left of the screen:
Now you have to choose the Docker account to own the repository, in this case use the account you just created. Then provide a name, as you can see from the image below, I’m using the same name as my Docker Hub account, but it is really up to you. The requirements for the repository name, is to contain a combination of alphanumeric characters and may contain special characters.
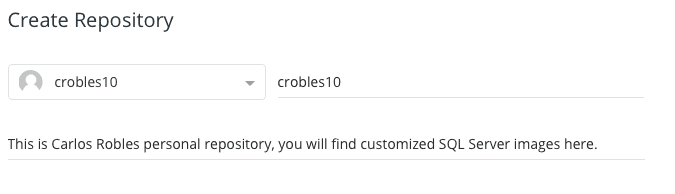
You can even add a repository description if you want; this is like a short description or tagline for your Docker Hub account to describe the meaning of your personal repository. For example, I’m describing my repository as a place where you can find customized SQL Server Docker images.
Now move on with the next option, specifically visibility. It can be Public or Private. I will recommend using Public, so that you can collaborate with friends or colleagues. You can choose private in case you are looking for an enterprise type of collaboration within your organization.
It is important to mention that Docker provides only one free private repository per Docker Hub account. If you need more, you have to upgrade your Docker Hub account to a billed plan.
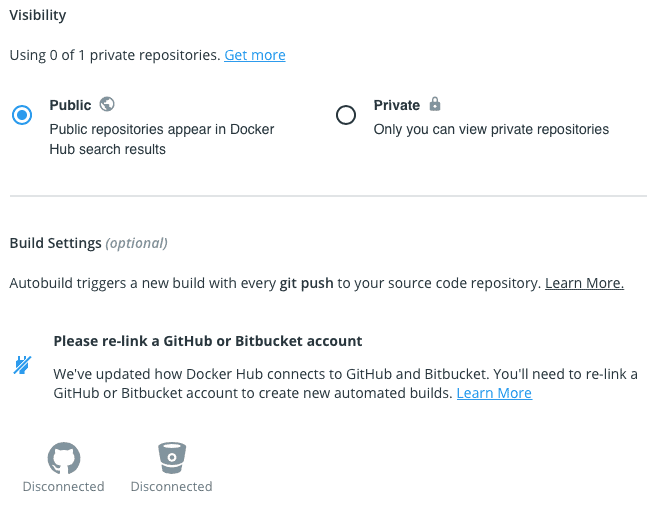
The Build Settings is optional. You can link your GitHub account with your Docker Hub repository to automatically push images to your source code repository. I will skip this option for now, because this is not in the scope of this article.
Once you are done with all the configuration, then simply click Create at the very bottom of the page.
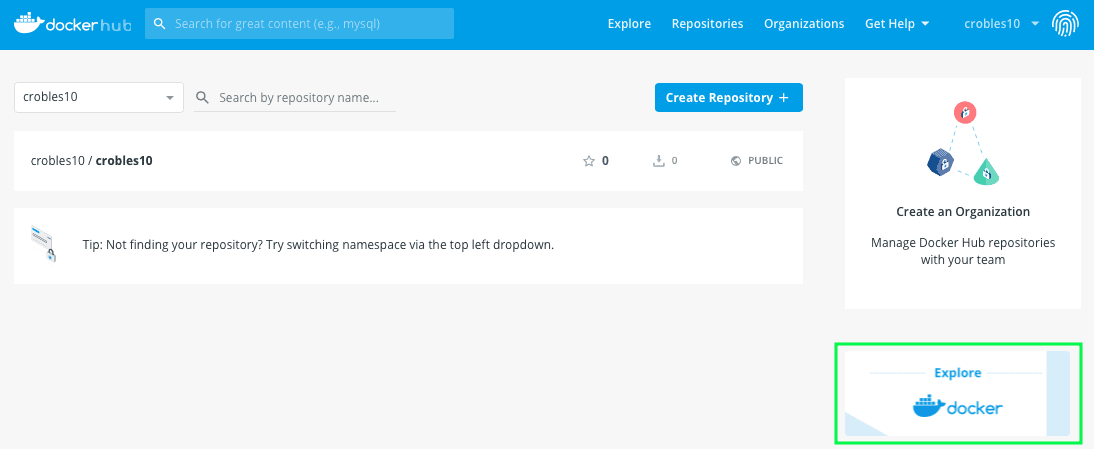
If you have completed all the steps successfully, you will be redirected to page where you will be able to see how your personal repository looks. You can add tags or a full description if you want. It is important to note the docker commands section on the right upper side:
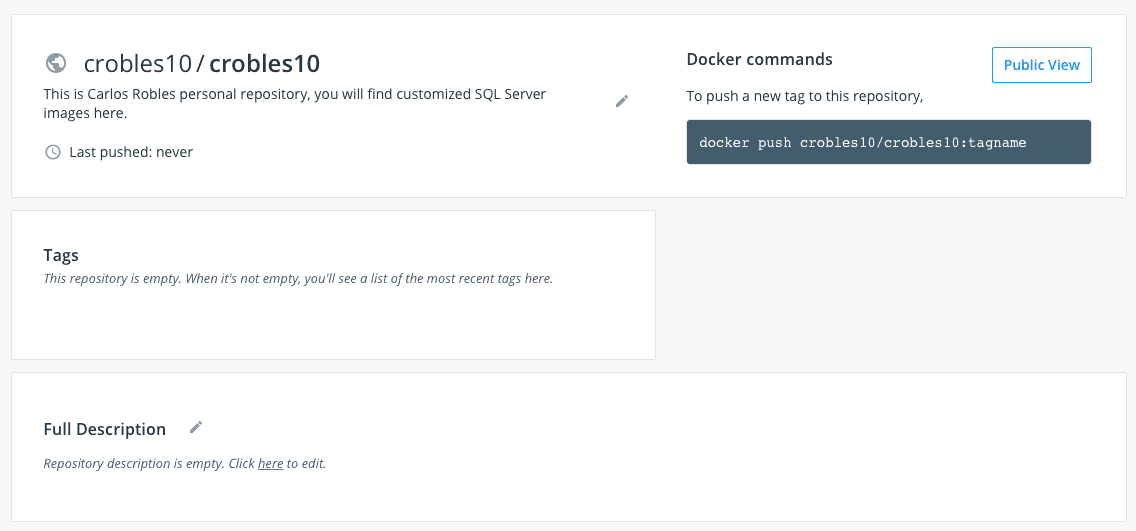
The Docker push command described there, shows how you can upload custom images to this repository. It will vary depending the name of the Docker Hub and the repository name; in my case I use the same for both.
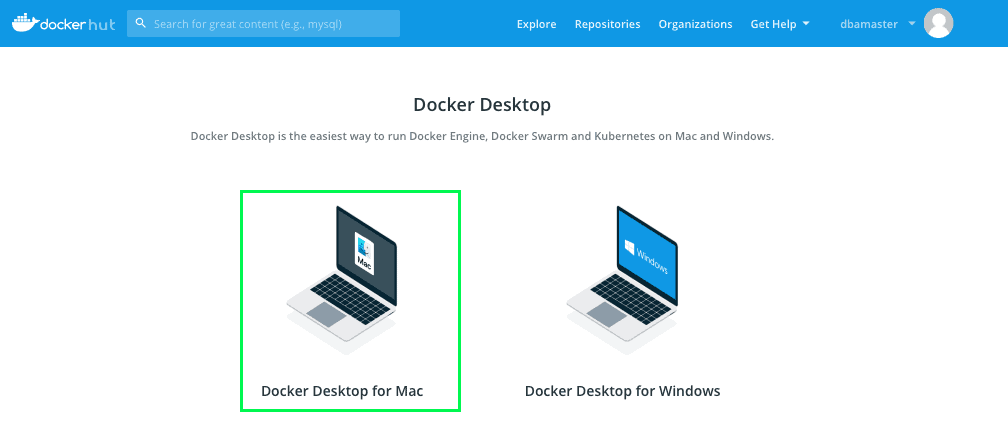
Now you are all set. It is time to download Docker’s software for macOS. Go to the main site and click on Docker hub at the very top of the screen. Then go to explore:
You will see the two Docker desktop option, obviously, you are interested in the Docker Desktop for Mac:
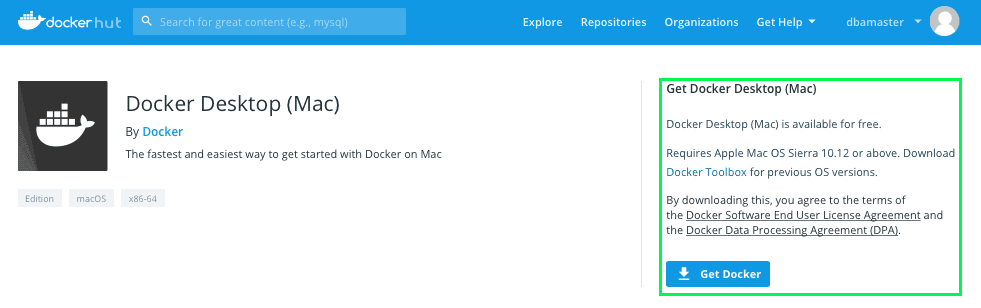
Look on the right top corner and click on Get Docker:
Once the Docker installer (dmg file) shows up in your download folder, double click the file called Docker.dmg to start the installation. A pop-up window will be displayed on your screen:
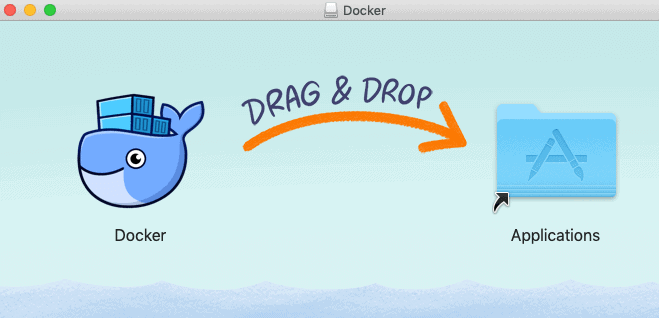
As the instructions suggest, just drag the blue whale icon (Moby) to your applications folder. Once the copy process completes, a new Moby icon will show up in your macOS bottom dock or in the application folder: (depending on how you have your settings configured)

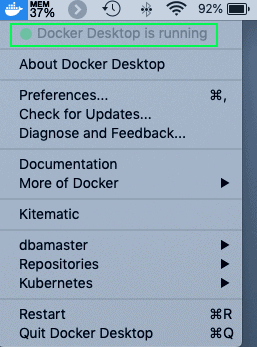
At this point, you have Docker successfully installed and ready to roll. Begin by clicking on the blue whale icon and waiting for the docker daemon to automatically start.
Once started, Docker will automatically create a new icon at the macOS menu bar; this icon shows the Docker daemon’s current status.
As an additional step, I recommend taking a look at Docker’s preferences to personalize the resource utilization, like CPU and memory.
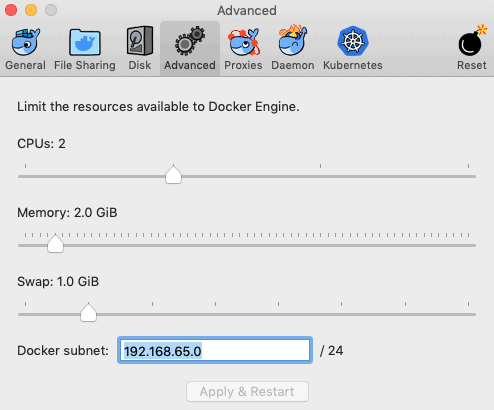
Docker by default uses 2 GBs of RAM for the Docker engine. I personally like to give it a little boost changing it to 4 GBs. The CPU is a little bit different. Docker will allocate half of the number of processors available on your machine. Of course, this number can be decreased or increased according your needs and preferences.
Microsoft Container Registry (MCR)
Docker containers are starting to gain acceptance across multiple software vendors. Docker hub is the public repository where anyone can have access to the latest certified images published by vendors using Docker container images.
By mid-2018, Microsoft created its own syndicated central repository called the Microsoft Container Registry (MCR). The goal of this new centralized repository is to have one source for all the container images available in the Docker Hub and Red Hat Container catalog.
This means, all new container images will be published in the Microsoft Container Registry, and all existing containers images will exist on Docker Hub.
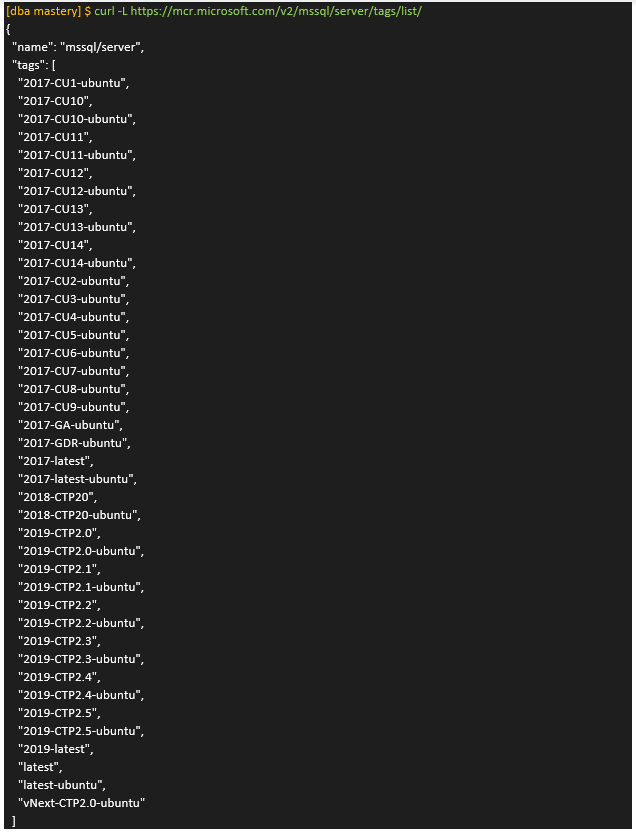
Microsoft’s Docker hub repository provides information about the catalog of official images for SQL Server on Linux running on the Docker engine. If you look carefully at the bottom of the Linux images table, there is section that provides the URL.
This URL it will redirect you to a JSON format website that contains the complete list of images. This is great, but there is another way to retrieve the same list using the Docker’s HTTP API V2.
Docker’s HTTP API V2, has a GET method which will return the complete list of images for a known repository. All you have to do is to use the curl command. Open the macOS built-in terminal (Applications>Utilities) and execute the following command:
|
1 |
curl -L https://mcr.microsoft.com/v2/mssql/server/tags/list/ |
You’ll see a list of images in the repository.
As you may have noticed already, each image has a unique name called a tag. This tag is used to self-describe each image. It consists in a three-part name composed as follows:
Image tag description:
SQL Server Version – build number – operating system
The first part describes the SQL Server version, the second is the build number, and the third is the operating system.
For example, if you want to create a container based on SQL Server 2017 CU14 for Ubuntu the tag you want to use is “2017-CU14-ubuntu”.
Combining this tag with the docker pull command you get:
|
1 |
docker pull mcr.microsoft.com/mssql/server:2017-CU14-ubuntu |
This Docker command will download an image of SQL Server 2017 CU14 for Ubuntu into your local image repository for later use when executing the docker run command.
Docker Client Commands
In order to familiarize yourself a little bit more with the Docker client, you will need to invest a little time exploring all the docker commands.
As you may have noticed, in order to interact with the docker client you need to use a command line interface. In the case of macOS, you have the built-in terminal (Applications>Utilities). You may want to add this application to your dock for quick access. From now on, all the input and output you will see for all the Docker commands will come from the Terminal application.
These commands are not that hard to learn, the docker –help command provides the list of all the available commands in the docker engine:
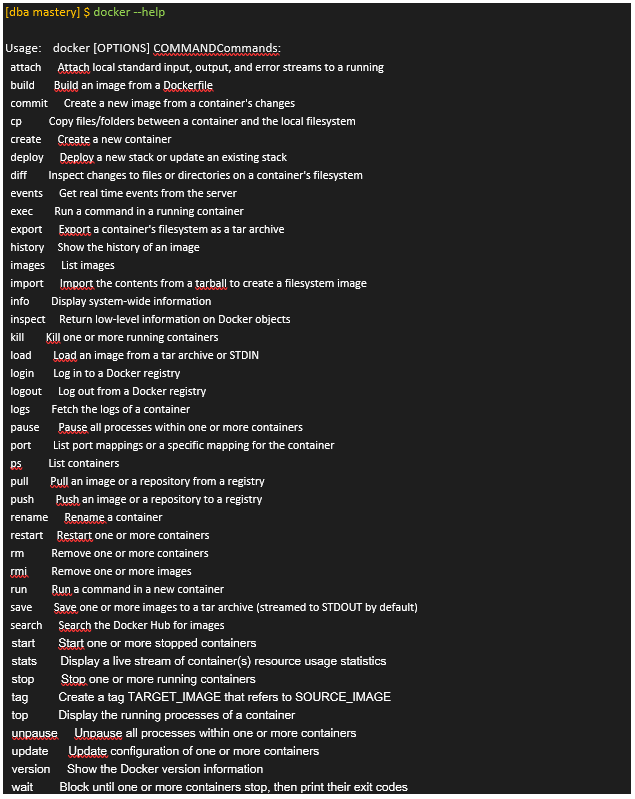
In case you would like to learn about each one of the commands in detail from the list above, I strongly recommend that you check the Docker online documentation which includes detailed information of each command including examples.
Here is a quick example of how to use the docker pull and docker run commands to create a SQL Server container. The first thing you must do is to download (pull) a valid image from the Microsoft Container Registry. This example uses the SQL Server 2017 CU13 version for Ubuntu.
|
1 |
docker pull mcr.microsoft.com/mssql/server:2017-CU13-ubuntu |
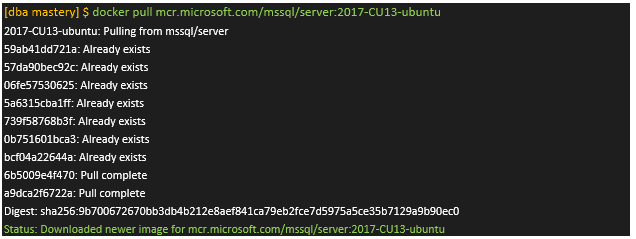
The output of the docker pull command confirms the image with the tag “2017-CU13-ubuntu“ is available in the local repository. Now create (run) a SQL Server Docker container called SimpleTalk:
|
1 2 3 4 5 6 |
docker run \ --name SimpleTalk --env 'ACCEPT_EULA=Y' \ --env 'SA_PASSWORD=MyP@ssw0rd#' \ --publish 1433:1433 \ --detach mcr.microsoft.com/mssql/server:2017-CU13-ubuntu |
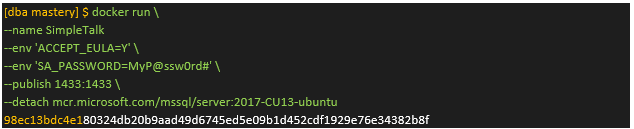
An output for the docker run command includes just an ID (highlighted in yellow). What does this mean? How do I know if my SQL Server container is up and running?
You can answer these questions using the docker ps command, which is going to list all the active containers running in my Docker host machine.
|
1 |
docker ps --format "table {{.ID}}\t{{.Names}}\t{{.Status}}" |
Here is the example of the output of this command:

Noticed, I have applied a filter to show me just the ID, the name and the status of the container. If you look carefully the Container ID (98ec13bdc4e1) from this output matches the one highlighted in yellow that was returned when the container was created.
It is remarkable how easy and simple is to use Docker to create SQL Server instances in matter of seconds, yes you read it right just seconds! You can confirm that by reviewing the status column from the docker ps command. It shows that my container called SimpleTalk has been up and running for the last two seconds.
Conclusion
Easily and quickly creating a “sandboxed” SQL Server instance is a game changer for the many developers using macOS. In this article, you installed Docker and created your first container.
Please join me in this series of articles where I will be talking the following topics related to Docker containers for SQL Server:
- Docker container management
- Persistent storage \ Docker volumes
- Transferring files from the host machine to Docker and vice versa
- Restoring databases from any source to a SQL Server instance running in a container
- Upgrading a SQL Server instance running in a container
- Connecting to a SQL Server in a container using SSMS
- Connecting to a SQL Server in container using Azure Data studio
- Creating a custom SQL Server container
- Automating the deployment of custom SQL Server containers
- Configuring an Availability group for a SQL Server instance running in a container
- More …
Thanks for reading!
Load comments